Sticker paper is easy to find, but without post-processing the stickers aren very durable. A bit of moisture and the
ink starts to run. Let test if a few coats of varnish can make them more resistant.
If you aren blessed with good penmanship, printing stickers is an easy out to get good-looking labels without hours
of practising calligraphy. However, my first few stickers for spice jars and deck boxes had two main issues; the ink
would run very easily when getting a little moist (pretty bad for items in the kitchen). Also, the colors weren quite
as vibrant as I would have liked.
While there are plenty of options to be found on the internet to make better stickers, some including a lamination
machine, the easiest seemed to apply a few coats of varnish. So let have a look if this has an effect!
Materials needed
- A printer
- Sticker paper suitable for your printer (InkJet or Laser)
- Varnish (Rattle Can)
- A cutting mat, X-Acto knife, ruler
Printing the stickers
This will depend on the type of printer you have, and the paper used, so experiment a little to find the best settings.
For me that turned out to be high quality settings for plain paper. Despite my paper being fairly glossy, and feels
more like a photo, settings for other types of paper didn鈥檛 look as good.
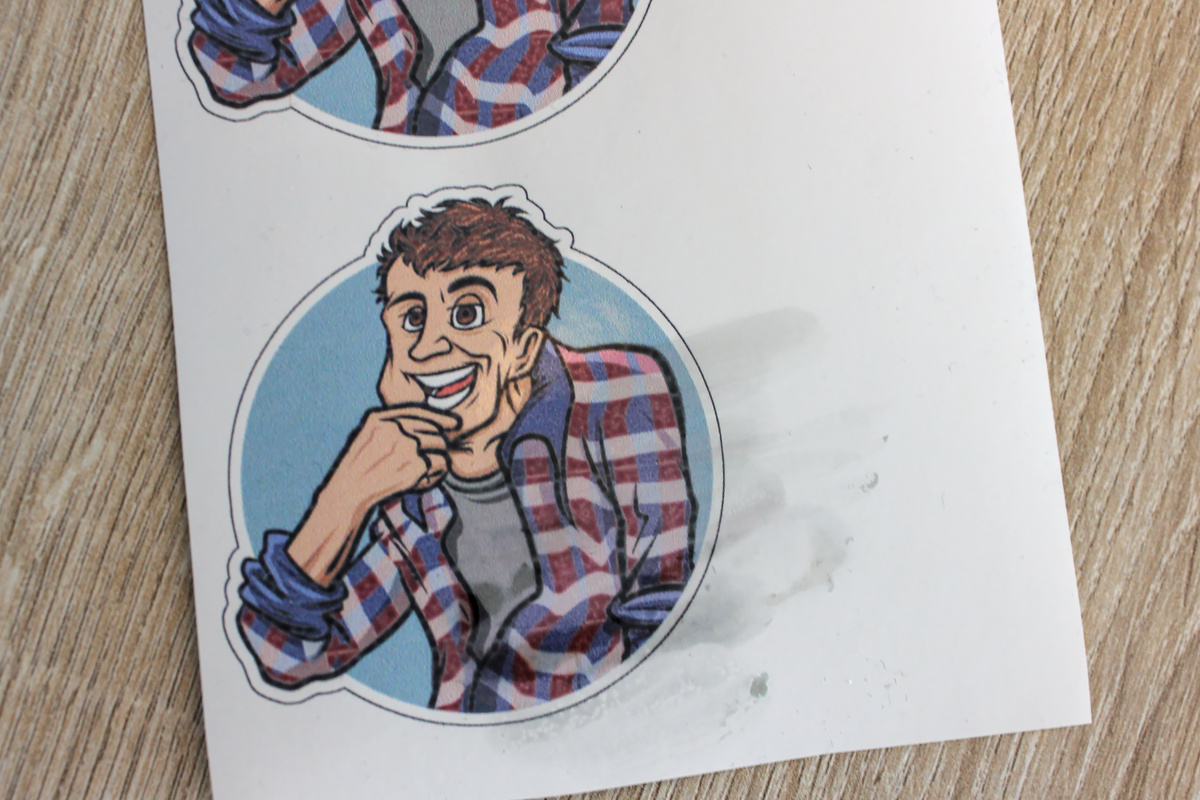
Water resistance without any post-processing
Without post-processing just a brief touch with a moist finger is enough to make the ink run. Splashing a few drops on
a sticker quickly ruins it.

Adding coats of varnish
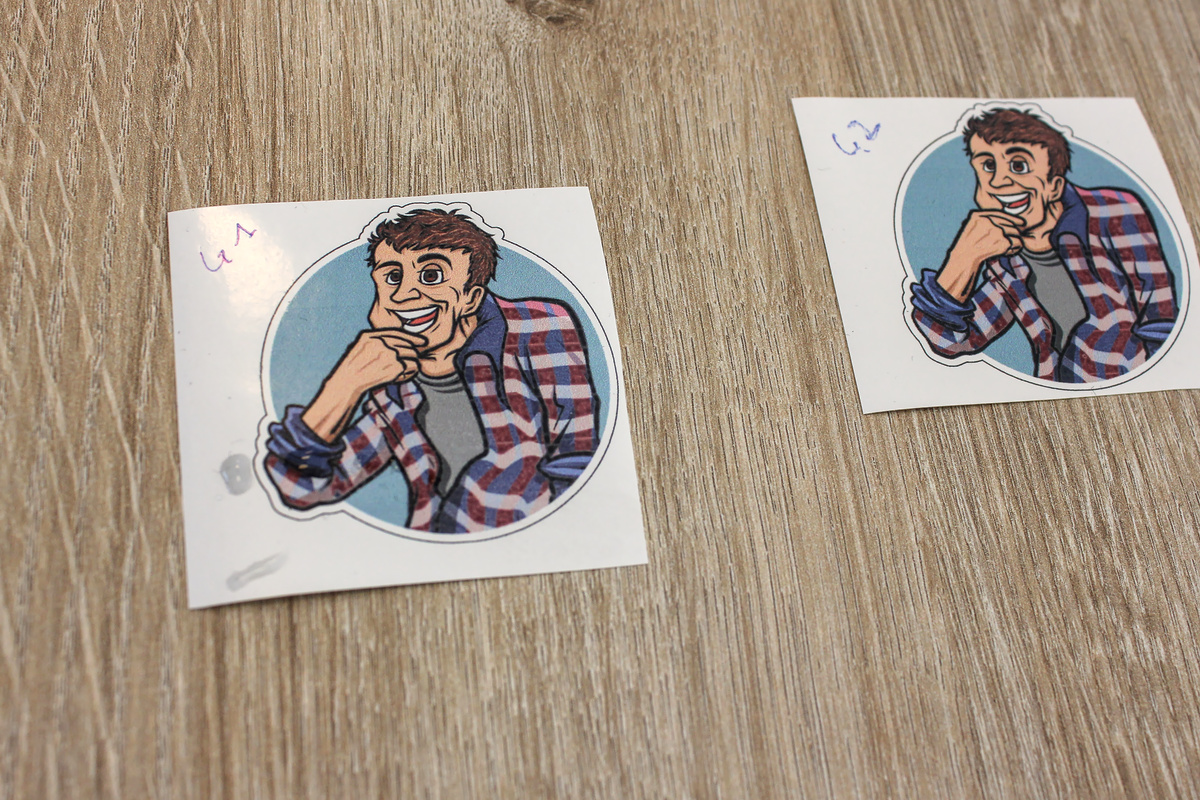
I ran tests with up to three coats of glossy varnish from a rattle can. In both cases a single coat isn鈥檛 quite enough to
protect the ink against water (image below, left sticker). However, with two coats you can splash water on the stickers
and rub them, the ink doesn鈥檛 run (image below, right sticker). In addition, when adding glossy varnish the colors
become deeper and more saturated.

Adding a third coat might give some extra protection, but most likely it is a waste of varnish. I wasn鈥檛 able to get the
ink to run with two coats, so three is overkill unless if you expect it to be outside frequently.
Labeling my KeyForge decks
With a good recipe for stickers I decided to start making labels for my KeyForge decks. These were all in black
UltraPro deck boxes. While I鈥檓 a sucker of consistency, finding the deck I wanted to play in eight identical boxes was
pretty annoying. So after making a few backgrounds for different sets using GIMP and writing a Python script to
add text and houses consistently I was able to create nice labels for all my boxes.
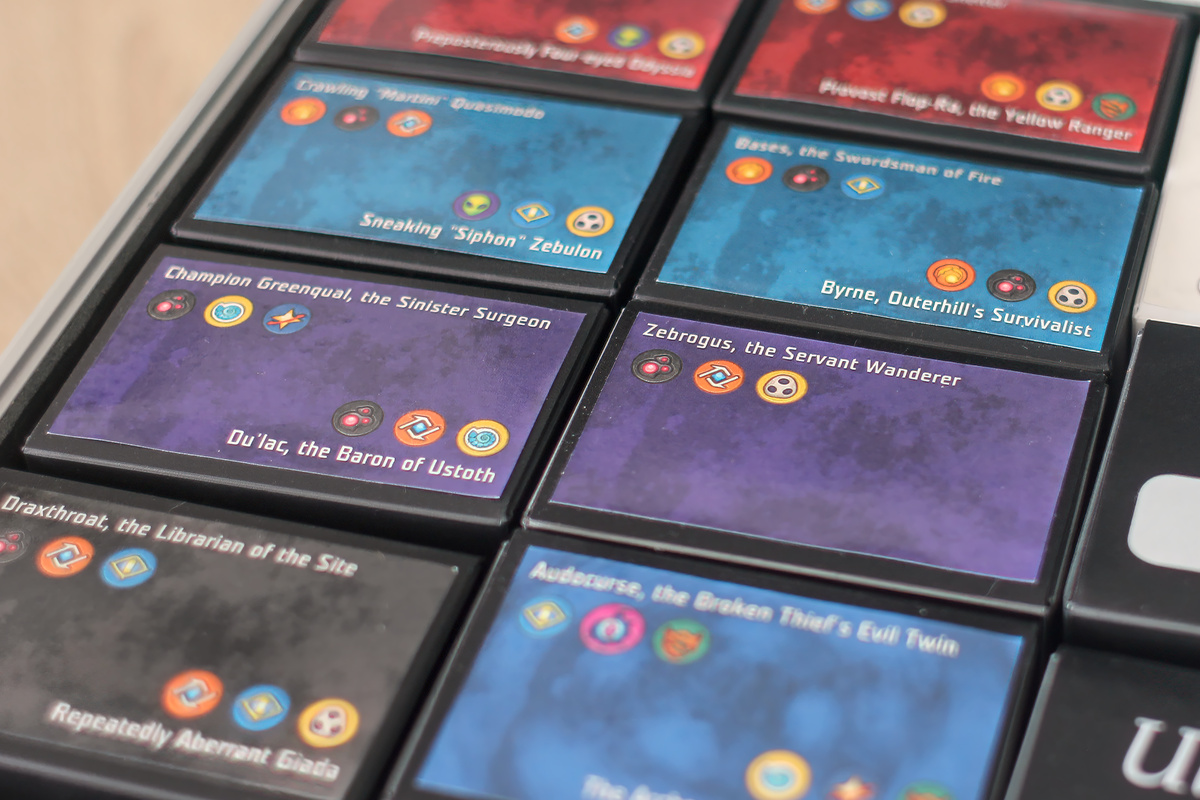
Very neat and consistent look for all my KeyForge decks, I might have become the Marie Kondo of organizing card games.

Conclusion
Applying a few coats of varnish to a printed sticker is a simple but effective method to create durable stickers
easily and cheaply. You鈥檒l see these pop up in future projects here for sure.
0 Comments