With Google’s Cloud Functions you can make simple microservices that can perform a task on Google’s infrastructure.
This allows some functionality of an app to be moved to the cloud. This can be useful in a number of cases; for instance
the Dashboard from a previous post. When running scripts on a platform like the Kindle Paperwhite, you are somewhat
limited to which tools and packages you can use easily. For instance installing additional python packages would be a
non-trivial step, as is installing other software. Therefore, the script makes use of vanilla regular expressions to
parse html instead of a more specialized package like BeautifulSoup.
However, when more complex processing is required, re-implementing everything would be quite cumbersome. So here a
cloud function could be a great solution. Each function can be called through an HTTP request, similarly as most web
APIs. The script will then be run on Google’s hardware and the results are passed back in a response. As an example
I’ll set up a Cloud Function that will grab citation data from a Google Scholar profile, as Scholar has no API, the
only way to get citation statistics is to parse them out of the HTML code. The code can be found on GitHub
Setting up a Google Cloud account and Create a Function
To get started a Google Cloud Account is required, this can be created here. Note that you’ll
need to provide valid credit card details, though there is a free tier included in the account. As long as you don’t
surpass that number of requests/compute time/… nothing will be charged to you card. (You also can set up a budget for
your account. This way even if the free tier is exhausted no more than the specified amount will be charged)
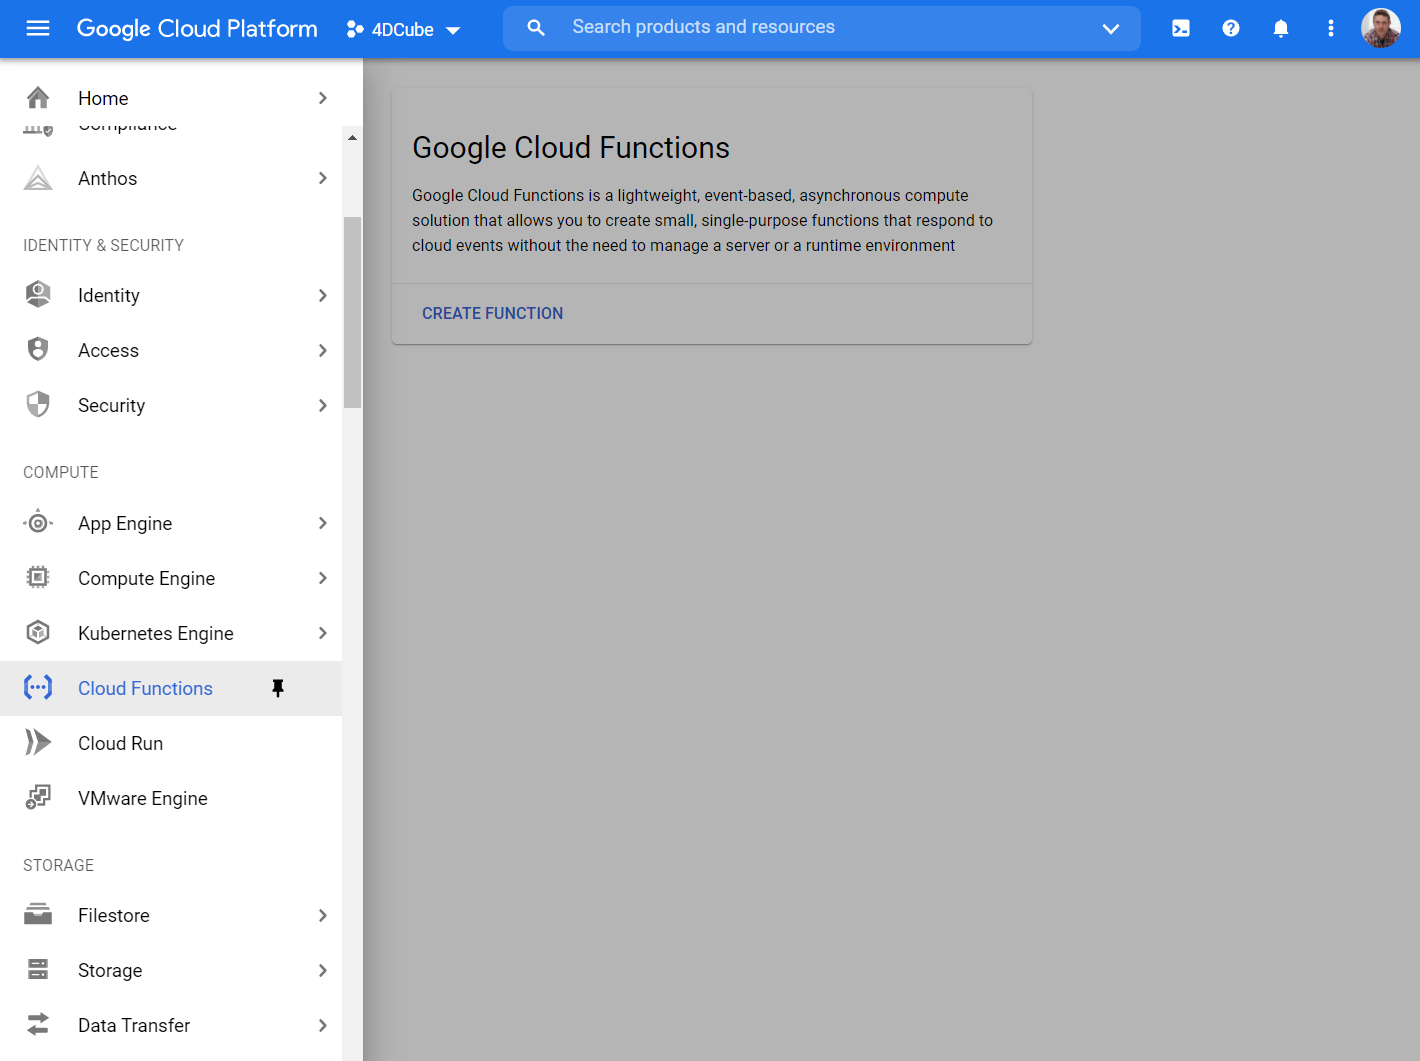
Next, you’ll have to create a project, enable the Cloud Functions and create a new Cloud Function. This is well
documented on Google Cloud, so for detail how to do this I’ll defer to the official documentation.
Once you start creating a function you’ll have to give it a name, and pick a server near you. Here well create a service
that works over the web, so it should trigger on HTTP requests and set it to unrestricted access.
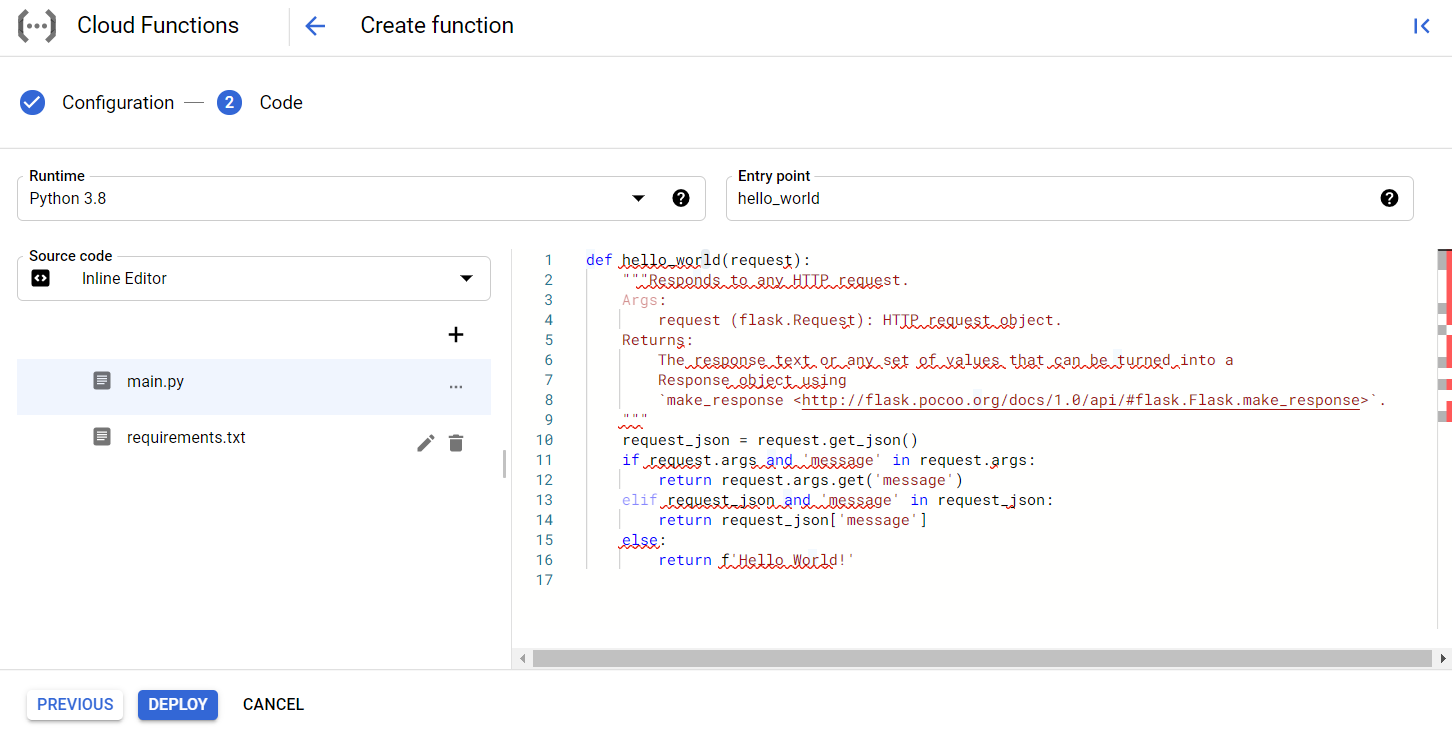
If you click Save and Next, you will be able to add the code of your function through an online editor as shown
below. Though you’ll lack the features of a fully fledged IDE, for a small function it should suffice. Here
we need to set the language to Python 3.7. Additional packages you wish to use can be added to requirements.txt while
to main code resides in main.py. There also is an entry point to set, this should be the name of the function
to run when the enpoint is requested, in the example this is hello_world.
Writing a function
As Google (beyond the free tier) charges you for running their functions based on the number of request, RAM and
CPU usage per milli-second. Functions should be kept simple and sleek. A few lines to process the request (enable Cross
Origin Resource Sharing, CORS) so we can pull this data in from other websites using JS and get the arguments)
, build the URL, use the requests library to grab the HTML and a few lines to process it. Everything, is returned as
as JSON. Below you can find the code in main.py.
import requests
import re
import json


def parse_scholar(request):
    # Code to handle CORS (from docs)
    if request.method == 'OPTIONS':
        headers = {
            'Access-Control-Allow-Origin': '*',
            'Access-Control-Allow-Methods': 'GET',
            'Access-Control-Allow-Headers': 'Content-Type',
            'Access-Control-Max-Age': '3600'
        }

        return ('', 204, headers)

    # Set CORS headers for the main request
    headers = {
        'Access-Control-Allow-Origin': '*'
    }

    request_json = request.get_json()
    if request_json and 'user' in request_json:
        url = f'https://scholar.google.com/citations?user={request_json["user"]}'
    else:
        user = request.args.get('user')
        url = f'https://scholar.google.com/citations?user={user}'

    r = requests.get(url)

    hits = re.findall(r'(d+)', r.text)
    fields = ['citations', 'citations_recent', 'h_index', 'h_index_recent', 'i10_index', 'i10_index_recent']

    return (json.dumps(dict(zip(fields, hits))), 200, headers)
For Google Cloud functions this needs to be paired with requirements.txt, which you can find below and make sure
to set the target to parse_scholar. That should do the trick !
# requirements.txt
requests==2.25.1
To use your cloud function you need to point your browser to the trigger URL (which you can look up in the Cloud
Function settings under Trigger) and add a user argument with the Google Scholar profile ID. For me, my scholar ID is
4niBmJUAAAAJ so I need to add ?user=4niBmJUAAAAJ to the trigger URL to pass that to the function. If everything works you
get a response with the citation stats like this…
{
   "citations":"5602",
   "citations_recent":"3240",
   "h_index":"24",
   "h_index_recent":"23",
   "i10_index":"29",
   "i10_index_recent":"29"
}
Testing Cloud Functions Locally
While developing your function, locally testing it before deploying it on Google’s hardware is a good idea. The python
package functions-framework makes this easy. Simply pip install the package and run it using the commands below,
note that the file containing your code needs to be called main.py and you specify the function as the target.
pip install functions-framework
functions-framework --target parse_scholar --debug
Now you can test if the code works by pointing your browser to e.g. http://localhost:8080/?user=4niBmJUAAAAJ. Other
solutions for testing locally based on Flask are also available, though this requires some extra code. A simple
one-liner seems, to me, a more elegant solution.
Conclusion
This made it very easy to move some code to the cloud where now it can be run with a simple request returning data,
that would otherwise be hard to parse, as JSON. This could simplify the code for the DashBoard from a previous post
for instance, furthermore JSON data can easily be pulled in from JavaScript. I plan to add some code to my resume
website, sebastian.proost.science that uses this function to get up-to-data citation statistics upon every visit. This
would omit the need for me to update this regularly (which is why CORS is enabled).
Header by Ian Battaglia on Unsplash


0 Comments